Fastviewer Quicksupport (Ad-Hoc)
To use Quicksupport, press this button:

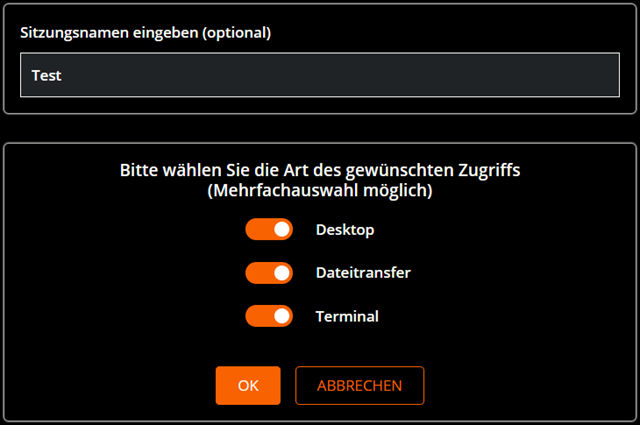
After pressing the button, this dialog appears where you can set the session name and some settings:
After clicking [OK], the following image appears:

Send this link to be able to control the computer.
When calling the link (on the computer to be controlled), the following dialog appears:
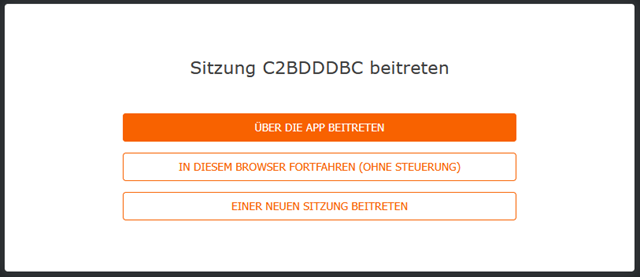
If you also want to control, only the first option makes sense. Here a file will be downloaded (AdhocLauncher_C2BDDDBC.exe) - the filename contains the Session ID, more on this later.
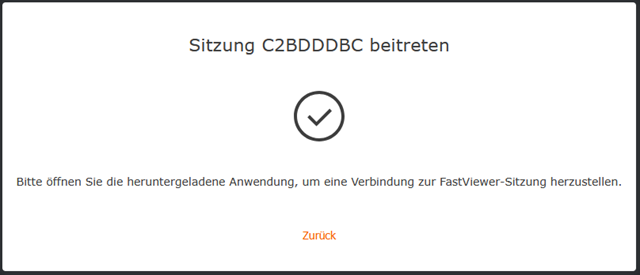
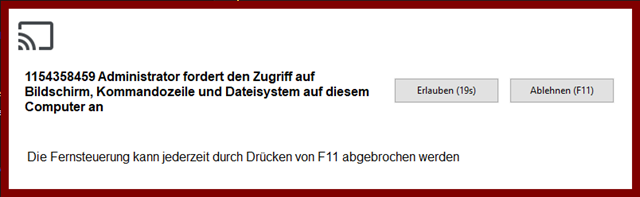
When starting the EXE, software is installed and started:
If the session is interrupted for any reason - restart, internet outage or similar - no reconnection is possible, you must create a new session (with a new ID). The user would now have to download the software again, but the file is identical, it only differs in the name. You can simply rename the file by replacing the ID with the new one, this works just the same.
When connected and you want to open a CMD or PowerShell as Administrator, the desktop freezes completely - you can neither type nor control anything. The only way to get out of this is either the user on the other end closes the relevant window (after which you can control again), or you disconnect the connection, which leads to the above problem.
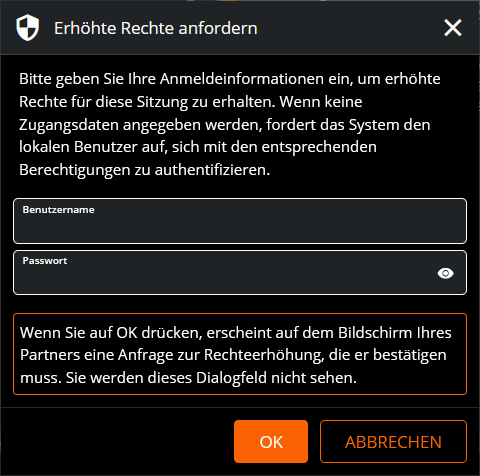
To request elevated rights (elevation), you must press this button:
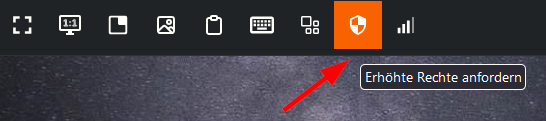
Here you can log in with an account that has administrator rights, or simply click OK. In this case, the user on the other end must confirm this if the current user is not an admin. Something happens briefly and then you can start any program as administrator.
Now you can run any program with elevated rights (administrator).
Creating Users to Allow Other Users Access to Remote Computers
This only works with permanently installed agents
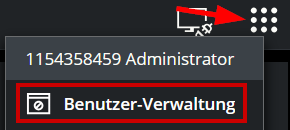
Click on the "dots" and select [ User Management ]
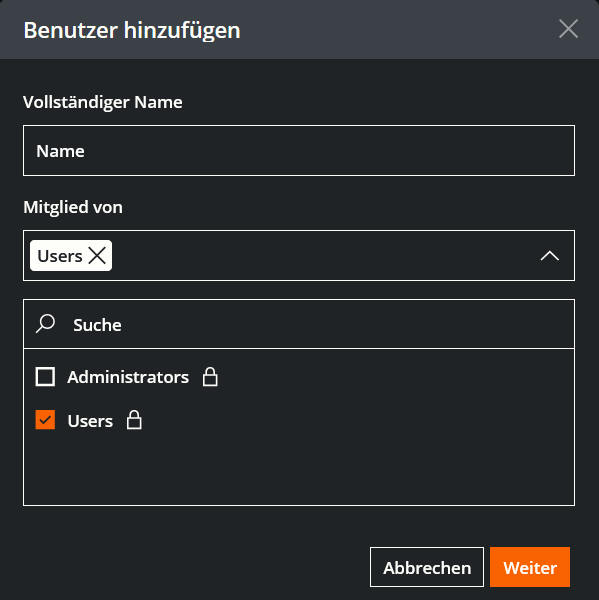
Click on [+ Add User], then the following dialog appears:
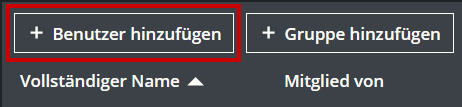
Here set the name and group - normally always choose Users:
Then you can invite the new user via link or email.

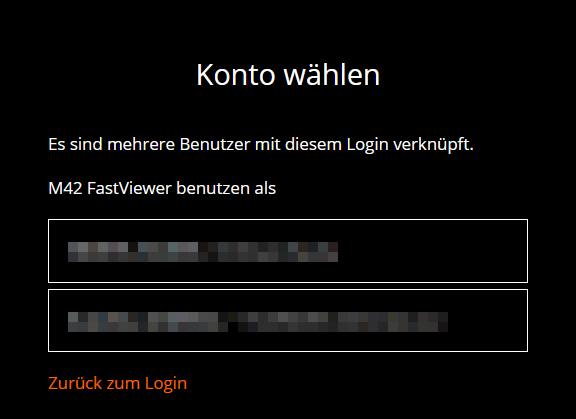
When you now log in with your account, you have the choice whether you want to see your own computers or those you were invited to.
Creating a Profile to Change Behavior
If the long waiting time during connection establishment or the red frame bothers you, you can change this in a profile and make it the default profile. To do this, click on the menu in the upper right (the square with many dots) and select Profile Management.
Create a profile here with any name and set the desired behavior, e.g. change the waiting time in the access dialog or change or completely hide the frame in the access display.
Then right-click on the Root folder, click Connection Profile and select the previously created profile. After that, the profile you created will be displayed as the current profile for every connection.